Table of Contents
In just 7 days, I’ve more than doubled my typing speed from 40 to 100 words per minute. This is how I did it and how you guys can do the same.
❤️ The Benefits of Touch Typing
Now, you’re probably thinking, “why bother?”.
You’ve probably learned to type pretty quickly already, even if it’s not exactly the correct technique. So, it may seem a little pointless to learn how to touch type properly now.
Well, if you’re happy with the way you’re typing right now, you’re probably reading the wrong article (😂). But, if you’re anything like me, your old ‘self-taught’ style of typing is most likely holding you back in a few different ways:
1. Productivity
The average typing speed is somewhere around 40-50 words per minute. So, if we type around 3500 words per day, we’ll by typing for almost an hour and a half every single day. But if we increased our typing speed to 120 words per minute, we’d write the same number of words in just half an hour. Which means, across the year, we’d be saving a mind-blowing 300+ hours of our time.
2. Health
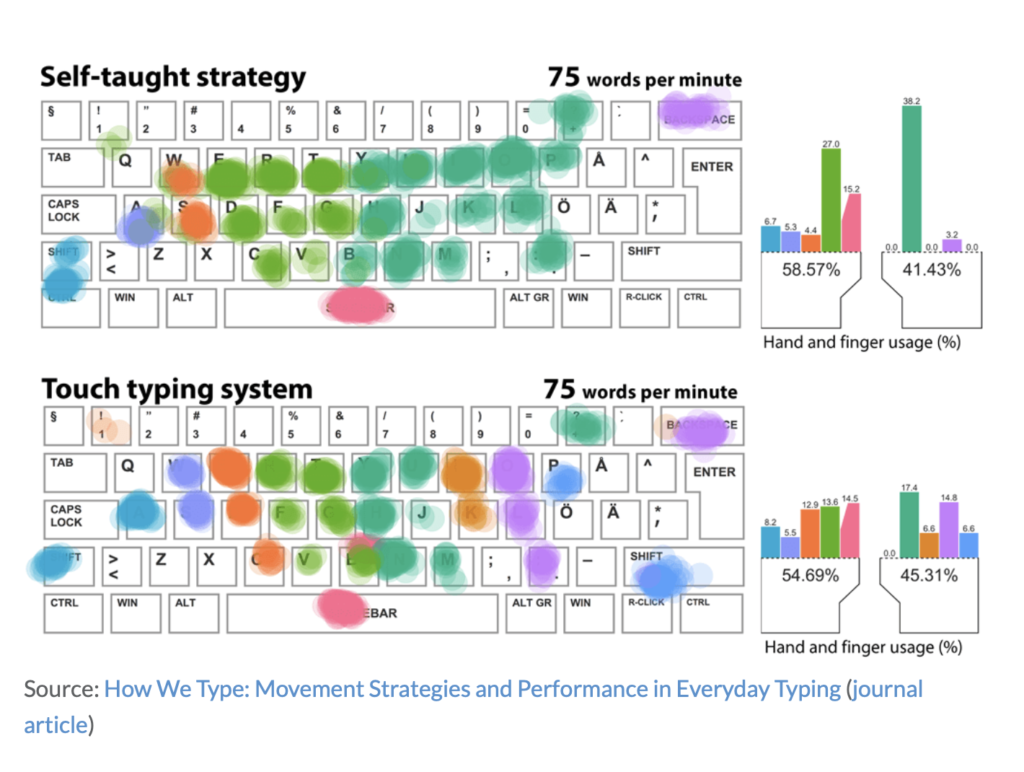
If we’re using the same two or three fingers to type, or use some other poor typing technique, then there’s a chance we could develop some type of Repetitve Strain Injury. Like, I used to massively overuse my index fingers when I typed, as is common for a lot of self-taught touch typists, which led to some discomfort in those fingers after 10-15 minutes of typing. So, to prevent long-lasting damage in those fingers, touch typing properly helped to spread the typing movement more evenly across all my fingers.
3. Creativity
If we can type at the pace we think, we never have to interrupt our stream of thought and we can quickly get a messy first draft down on the page. Whether that’s an essay, blog post, newsletter, or whatever. It’s just far easier to enter this state of flow and be creative when we don’t have to think about what we’re typing.
⌨️ How to Type Quickly
Now we know why we should learn to touch type, let’s now take a look at how to do it properly.
Tip 1: Set a Baseline
We can’t see whether we’re making any progress unless we have a clear picture of how good or bad we are right now.
So, my advice would be to use a typing test, like 10FastFingers – which is probably my favourite typing test website out there – to get an accurate measurement of our typing speed.
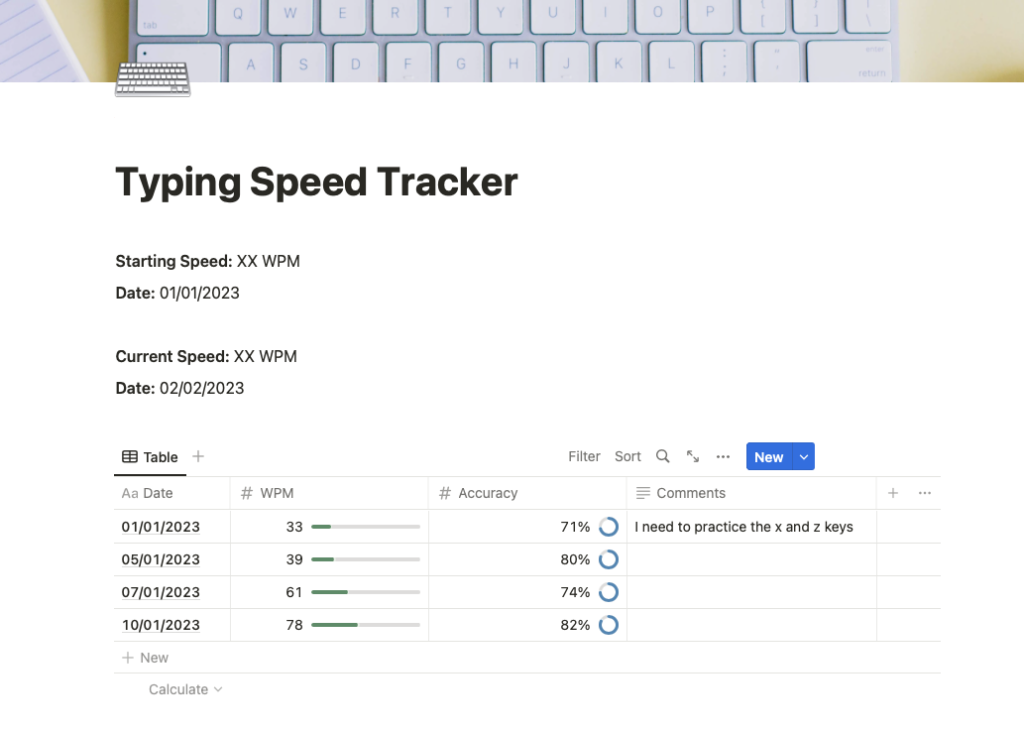
When you first take the test you’ll probably be pretty slow, unless you’re some sort of productivity nerd already. And especially if you’re trying to type using the correct technique for the first time. Like, when I first did this last week, using the correct technique, I struggled to get just 30 words per minute, so don’t feel too bad if you find it hard.
I highly recommend using something to track your progress, which is why I also created a Notion template and cheat sheet that you can download for FREE here:
Tip 2: Put in the Reps
Putting in the reps and practicing sounds pretty obvious, but there’s a specific learning pathway that worked well for me that I thought I’d share with you too:
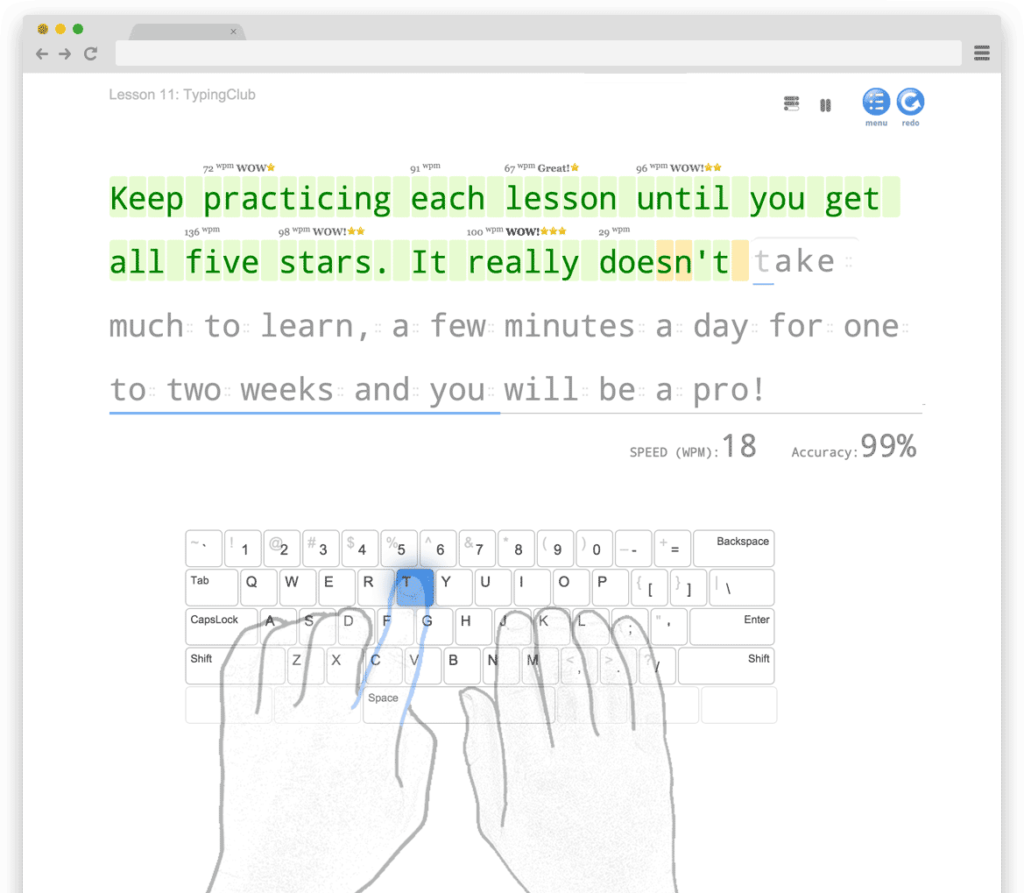
1. First, we need to understand the foundations of touch typing and the best site I’ve found to do this in a fun, engaging and genuinely helpful way is TypingClub. It’s a super fun and engaging typing course that gradually builds our typing ability, starting with simple tasks using the ‘home row’ keys to more advanced games using the entire keyboard.
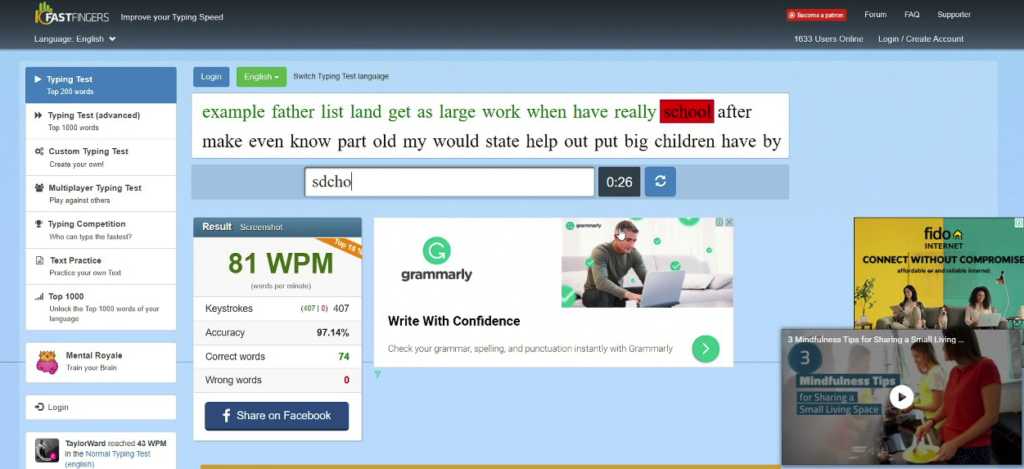
2. From there, we graduate to 10FastFingers which is great for learning to touch type the top 1000 most common words in the English language. And given that about 80% of written English consists of these top 1000 words, it’s an absolute game changer when we learn to touch type them properly.
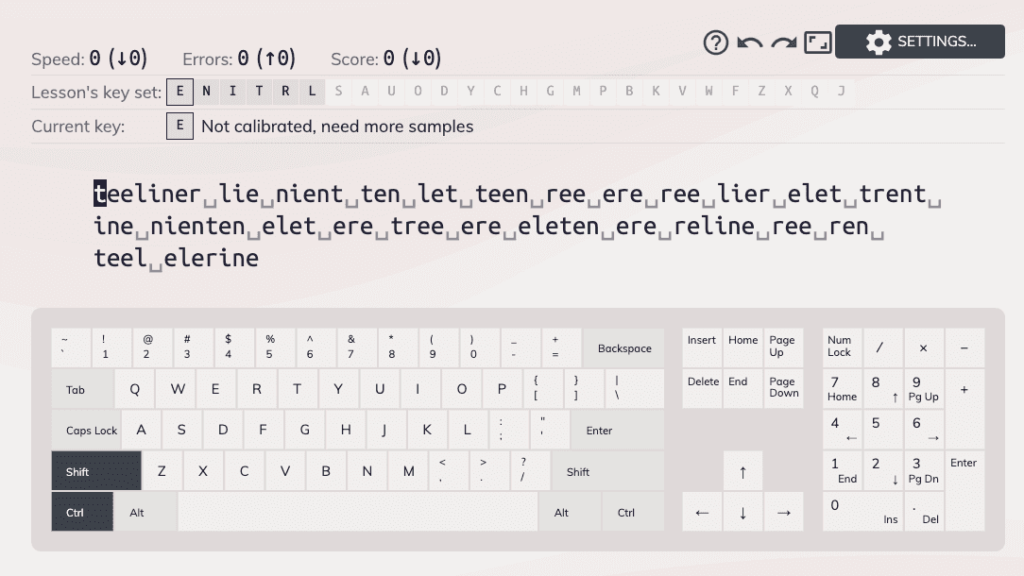
3. Finally, our goal is to iron out mistakes using a site like Keybr. The great thing about this site is that, as we type, it learns what letters (or combination of letters) we struggle with most and makes us practice them more often. So, we’re basically forced to fix all our weak points and consistently try to improve them every day.
My recommendation is to keep things pretty slow to begin with. The last thing you want is to engrain more bad habits over time. So, just find a gentle rhythm with your typing and 10 minutes of practice every day is plenty if you’re consistent.
Tip 3: Use Keyboard Shortcuts
Over the last week, I noticed I spent a large chunk of my time correcting my mistakes. Obviously this was expected, but I couldn’t help but think that there must be a quicker way than wacking the backpace button multiple times whenever I wanted to delete something.
So, I did a bit of digging, and noticed that there are two essential keyboard shortcuts for typing faster:
- The first one is OPTION + BACKSPACE on Mac or CTRL + BACKSPACE on Windows – this lets us delete a whole word super quickly and easily. So, if I typed in something like “not all those who wander are list” instead of “not all those who wander are lost”. I can quickly delete that final word by typing option + backspace.
- The second shortcut is CMD + BACKSPACE on Mac and SHIFT + HOME > BACKSPACE on Windows – this lets us delete the entire line. I used to highlight the whole line and hit backspace, so this saves a lot of faff.
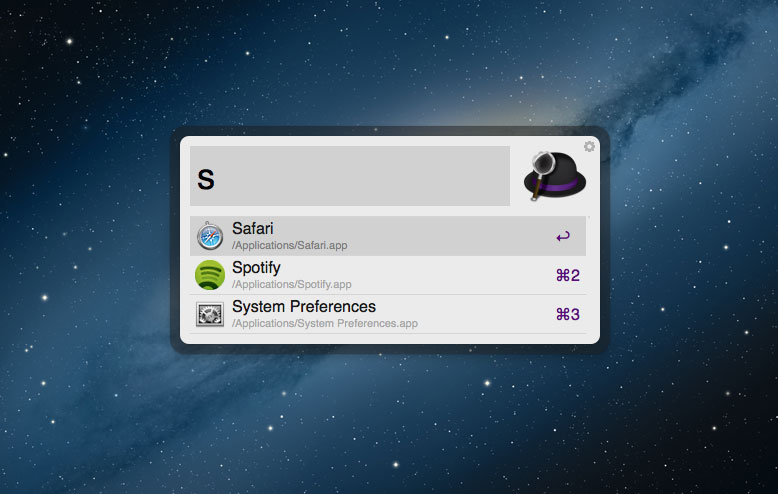
To be honest, the more we can avoid using our mouse like this the better. This is why I downloaded an app called Alfred on my laptop where the idea is that instead of trying to find folders or apps using our mouse, we can just find everything we need using our keyboard. So, let’s say we wanted to open Spotify we could just type optn + spacebar to open up Alfred then we type in whatever we’re looking for and hit enter. It’s an absolute game changer for whenever we’re trying to find or open stuff on our laptop.
Tip 4: Know the Home Row
We also need to use the correct finger positioning.
Sites like TypingClub are pretty good at telling us where we need to place our fingers, but, in short, our resting position should always be on the ‘home row keys’ as they’re called. And that’s A, S, D, F for the left hand and J, K, L, ; for the right hand.
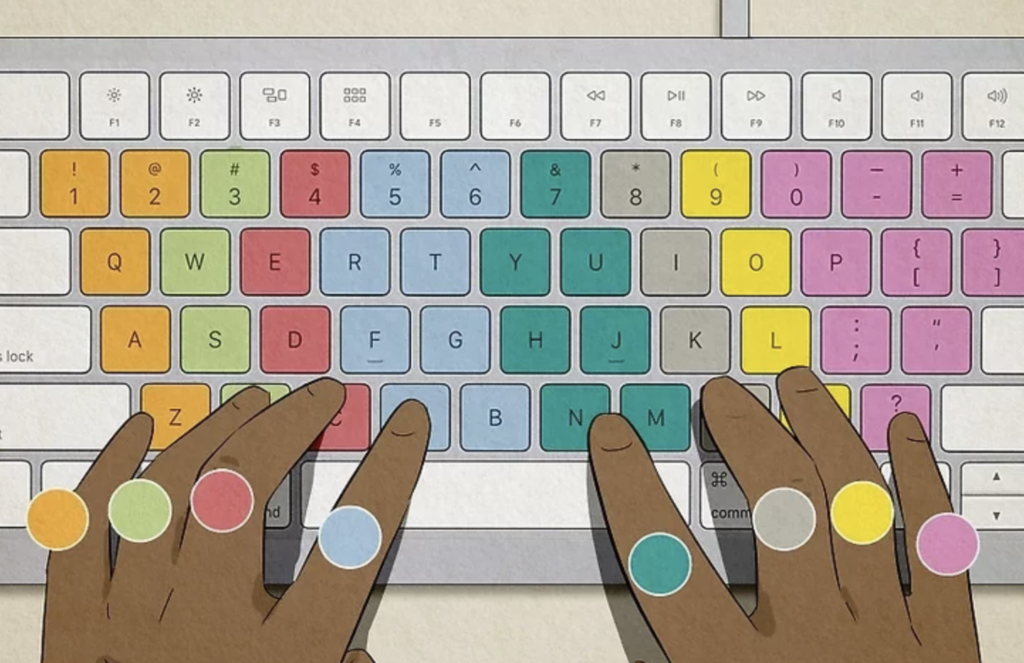
It’s pretty easy for us to find the right position without looking because most keyboards have a raised line on the F and J keys, which is where we want to place our index fingers. Then, from this position, we want to make sure we’re covering all the other keys with the correct fingers too, as we can see in the image above.
This may feel uncomfortable and inconvenient at first, but stick with it. You may decide one day there’s a way that works better for you – like not using the pinky finger – but you really have to understand the foundations of touch typing properly before breaking the rules.
You can check out this video from some pro typists if you want to see how they sometimes break the rules too.
Tip 5: Cover your hands
When we actually begin learning to touch type, we want to make sure our hands are covered. It’s super tempting to peek at our hands as we type, but it’s really difficult to train our muscle memory if we’re constantly letting ourselves look at where they keys are.
If this is something you struggle with, you can try using a cloth to cover your hands as you type or you can buy a blank keyboard cover which makes it impossible to see what you’re typing.
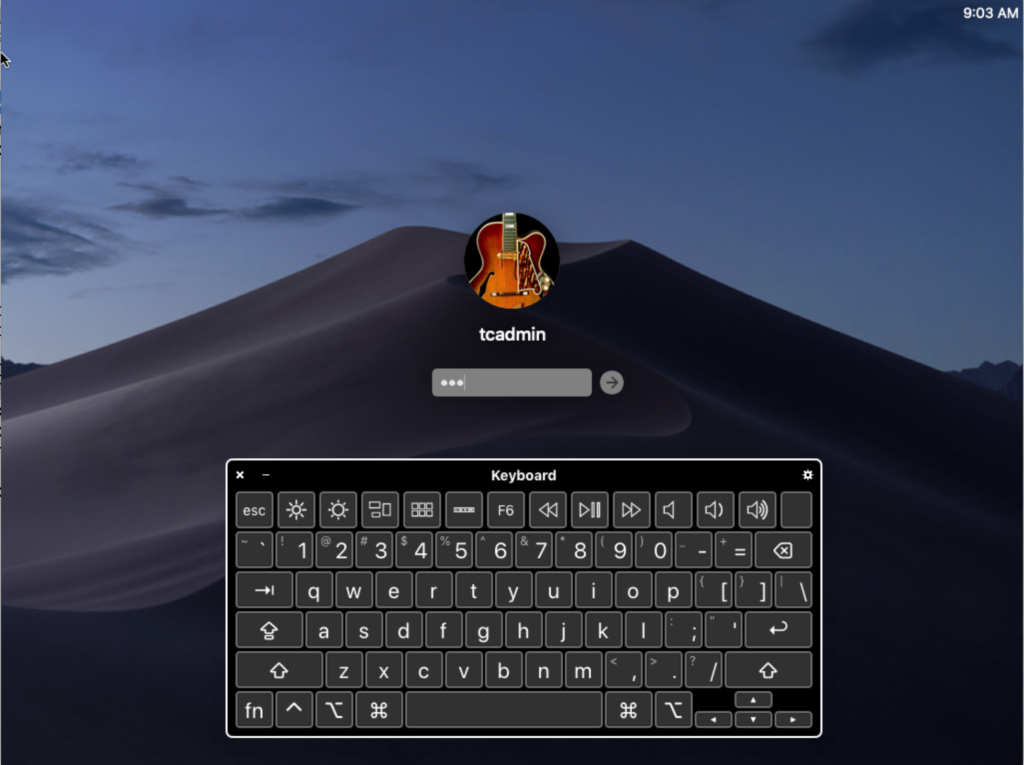
Another method that works pretty well is just putting a miniature version of your keyboard on the screen as a reference, which is something that I did in the first couple of days where the temptation to look down was at its highest.
Tip 6: Fix Your Posture
Finally, and perhaps surprisingly, touch typing involves more than just the placement of our fingers. It involves getting the posture of our entire body right.
There’s a lot of studies on the correct seating posture, but it largely boils down to four things:
- We need to keep our feet flat on the ground and our neck and back straight, which is why I highly recommend buying an ergonomic chair like my Herman Miller Aeron;
- We need to adjust our elbows to an angle between 90 and 110 degrees;
- We should keep our wrists in a neutral position and not bending backwards, which is why a wrist support may be a good idea;
- And the top of our monitor should be at eye level or, if we’re just using our laptop, placed on a laptop stand.
Beyond this, there are a few advanced tips and tricks when it comes to touch typing (and typing faster), involving different types of keyboard layouts and equipment – but, this is something I think I’ll save for another article.
For now, you can download my typing tracker and try to get over 100 WPM!

